

Easy Steps to Set Up a Proxy in Windows
What is a Proxy Server?
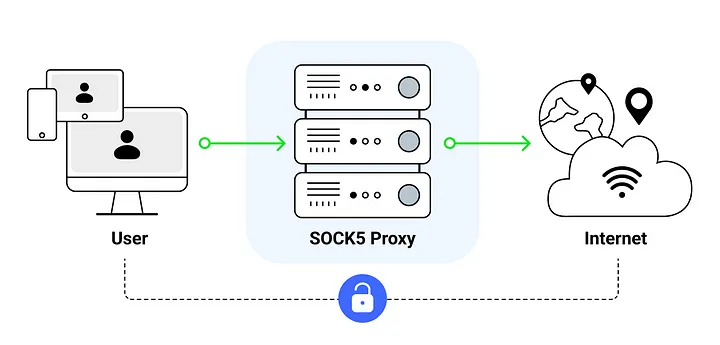
A proxy server acts as an intermediary between your computer and the internet. It receives requests from your device, forwards them to the internet, and then returns the response to you. This process helps in masking your IP address, enhancing privacy, and sometimes improving network performance. For a more detailed explanation, you can refer to Mozilla’s guide on proxy servers.
Why Use a Proxy in Windows?
Using a proxy server in Windows offers several benefits:
– Enhanced Security: Proxies can help protect your data from malicious attacks by hiding your IP address.
– Improved Privacy: By masking your IP, proxies make it harder for websites to track your online activities.
– Access Control: Proxies can be used to restrict access to certain websites, making them useful in corporate environments.
For developers, proxies can also be used to test websites from different locations or to bypass geo-restrictions.
Setting Up a Proxy in Windows 10: Step-by-Step Guide
Accessing Proxy Settings
1. Open Settings: Click on the Start menu and select “Settings.”
2. Network & Internet: Navigate to “Network & Internet” and select “Proxy” from the sidebar.
3. Proxy Settings: Here, you can configure both manual and automatic proxy settings.
Manual Proxy Setup
1. Enable Manual Proxy: Toggle the “Use a proxy server” option to “On.”
2. Enter Proxy Details: Input the IP address and port number of your proxy server.
3. Save Changes: Click “Save” to apply the settings.
For more detailed instructions, you can refer to Microsoft’s official guide.
Automatic Proxy Setup
1. Enable Automatic Setup: Toggle the “Automatically detect settings” option to “On.”
2. Configuration Script: If you have a script address, toggle “Use setup script” and enter the URL.
Pros and Cons: Automatic setup is easier but may not always provide the desired level of control.
Troubleshooting Common Proxy Issues
Even with the best setup, issues can arise. Here are some common problems and solutions:
– Connection Errors: Ensure the proxy server address and port are correct.
– Slow Internet: Check if the proxy server is overloaded or try a different server.
– Authentication Issues: Verify your credentials if the proxy requires authentication.
For more troubleshooting tips, visit TechNet’s troubleshooting guide
Advanced Proxy Configuration for Developers
For developers, advanced proxy settings can optimize performance:
– Custom Scripts: Use custom scripts for more granular control over proxy settings.
– Multiple Proxies: Configure different proxies for different applications or networks.
These advanced configurations can help in testing and development environments.
Conclusion
Setting up a proxy in Windows is a straightforward process that can significantly enhance your online security and privacy. By following the steps outlined in this guide, you can easily configure a proxy server on your Windows 10 device. Whether you’re a developer looking to test applications or a user seeking better privacy, proxies offer a versatile solution. Explore your proxy settings today to take control of your internet experience.
By incorporating these steps and tips, you’ll be well on your way to mastering proxy settings in Windows. For further reading, consider exploring related articles and resources to deepen your understanding.


